-
- As a user (business or individual) you need to Sign up an account with your name, email address and password.
- Check your email to Verify your account, once verification complete, you will be redirected to your dashboard (workspace) or redirected to login to your account
- Click on Account menu to see your workspace information
- Clicks on Settings to setup their name, upload profile picture, insert phone number, email address and set your online status
- Set up your Meetings setting. You can change or update settings related to the meetings you hold host or join.
- To update your setting, on the Meetings section, toggle buttons on Mute my microphone when joining a meeting, Turn off my video when joining a meeting, Enable share screen, Enable waiting room, Participants cannot unmute until host allow, Participants can request for unmute, and Enable breakout room

- From workspace users click on start a meeting for an immediate session or Host meeting for immediate and scheduled session.
- Start meeting takes users directly into in meeting room
- User click on Join meeting if they have share meeting ID
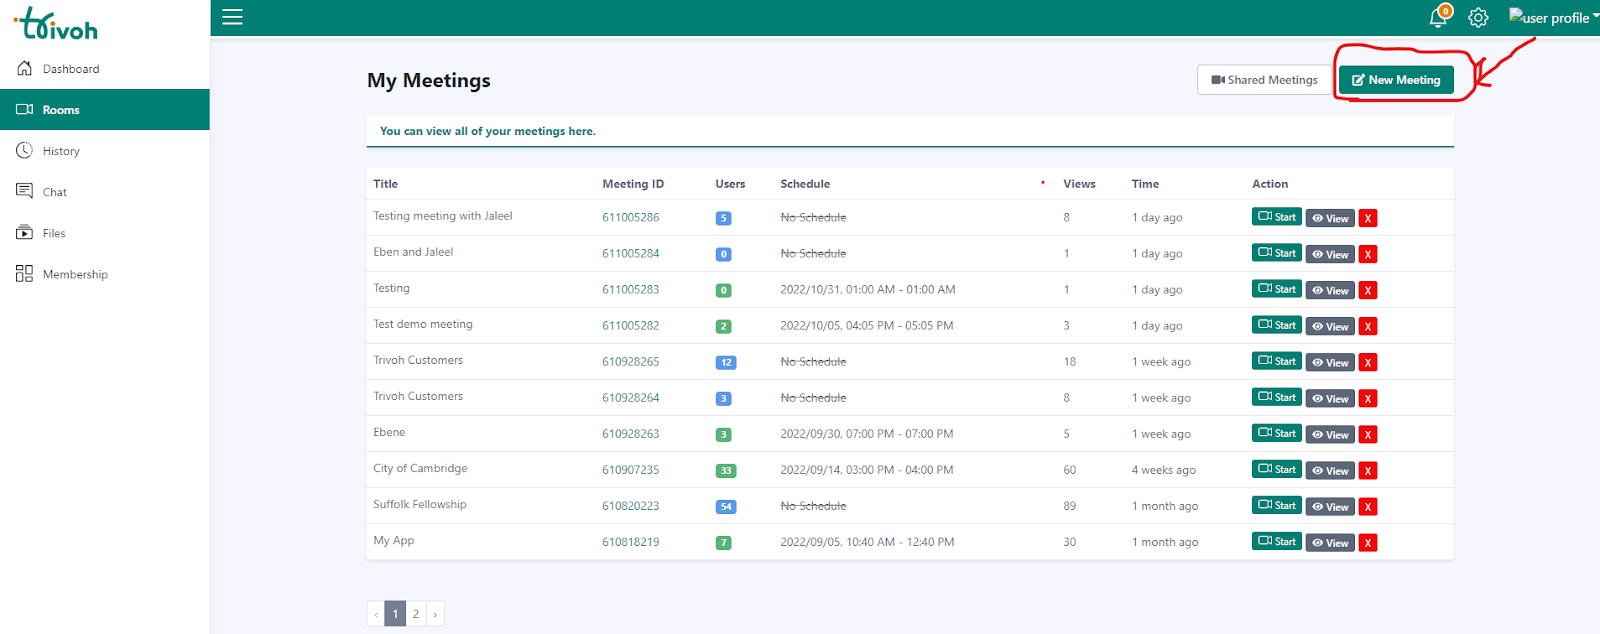
Setting up a room starts with you Hosting a meeting, every user of Trivoh by default has a personal room which can be used to start a meeting.
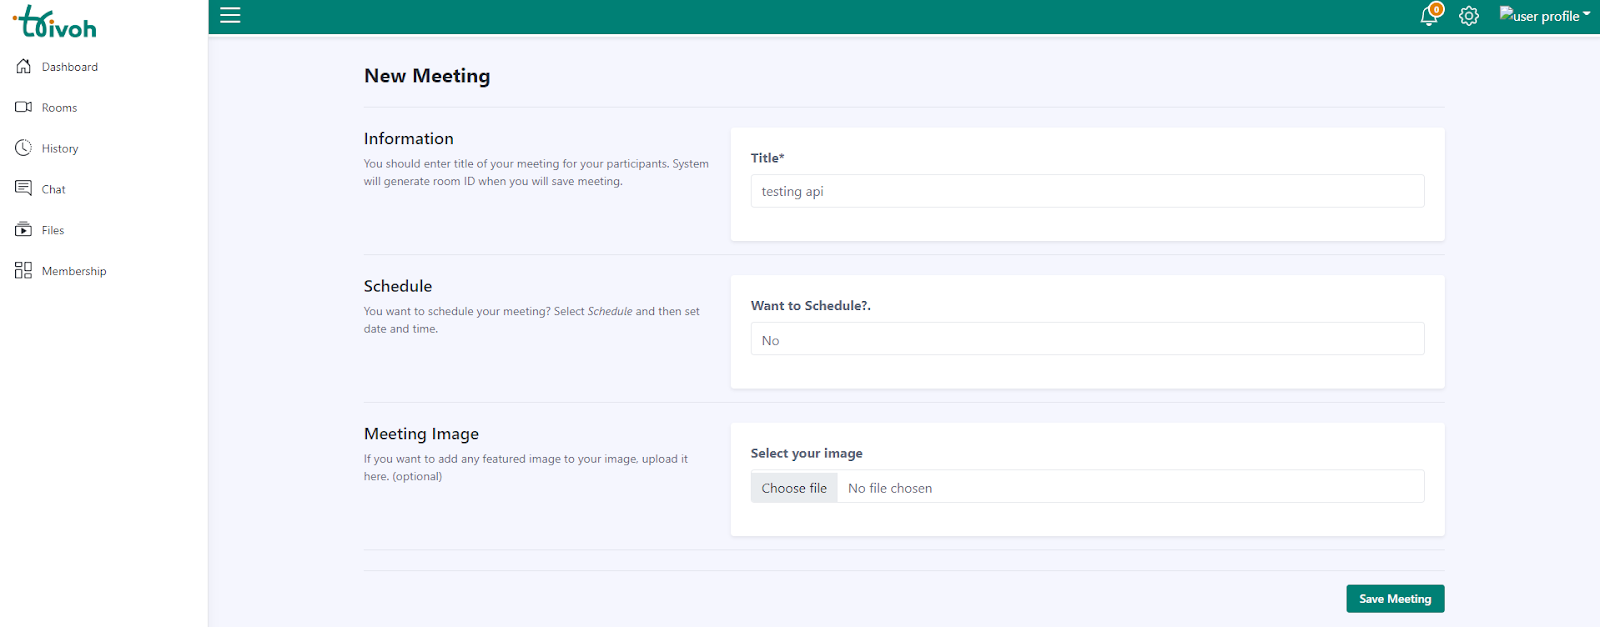
Setting up a new room: You can set up a new room by clicking on New meeting which takes you into a page to set up your meeting with the meeting title, option to schedule meeting and to add meeting image (optional). After all this you are required to Save your meeting for immediate use or later.
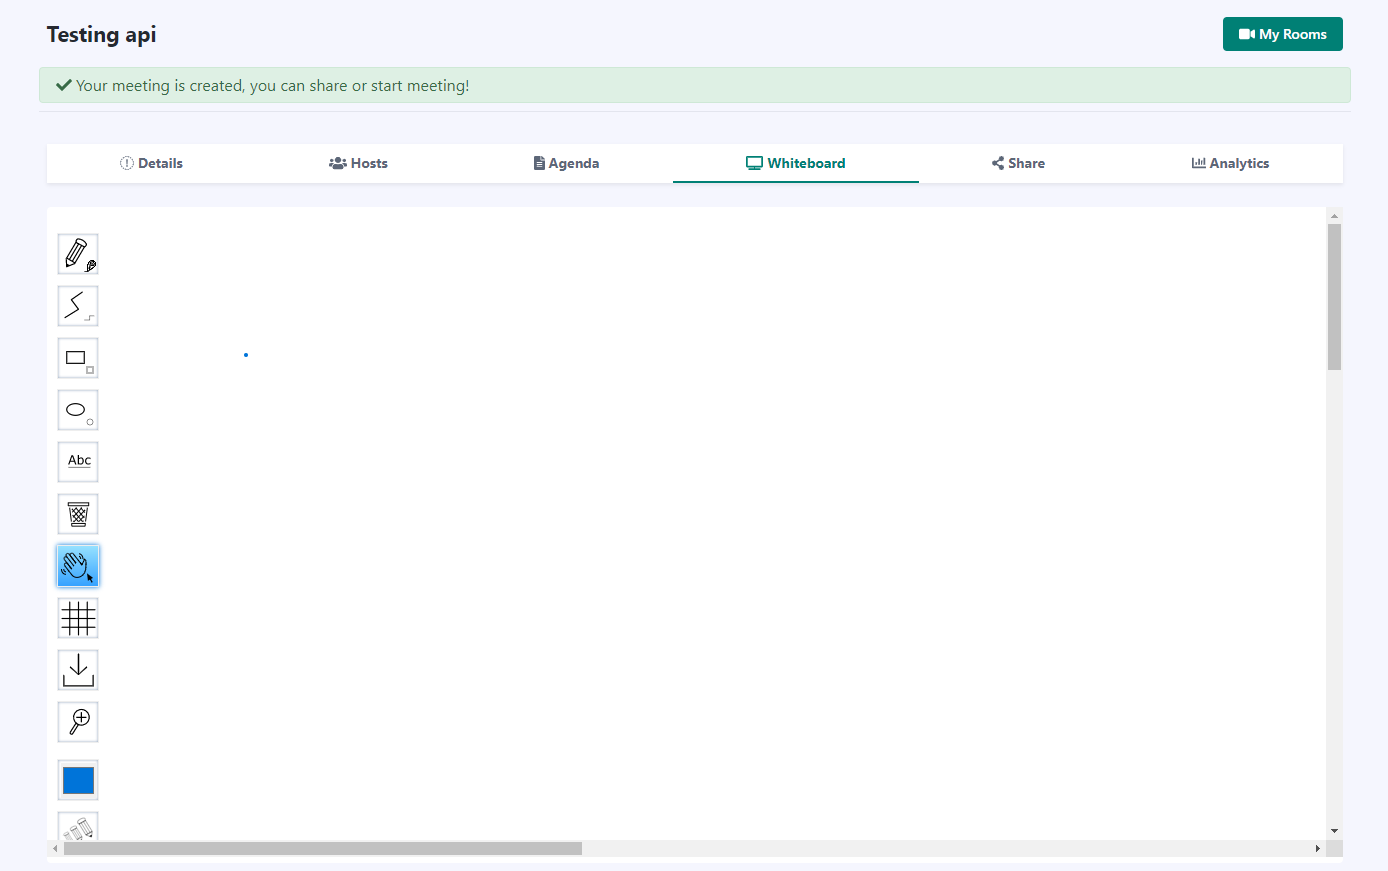
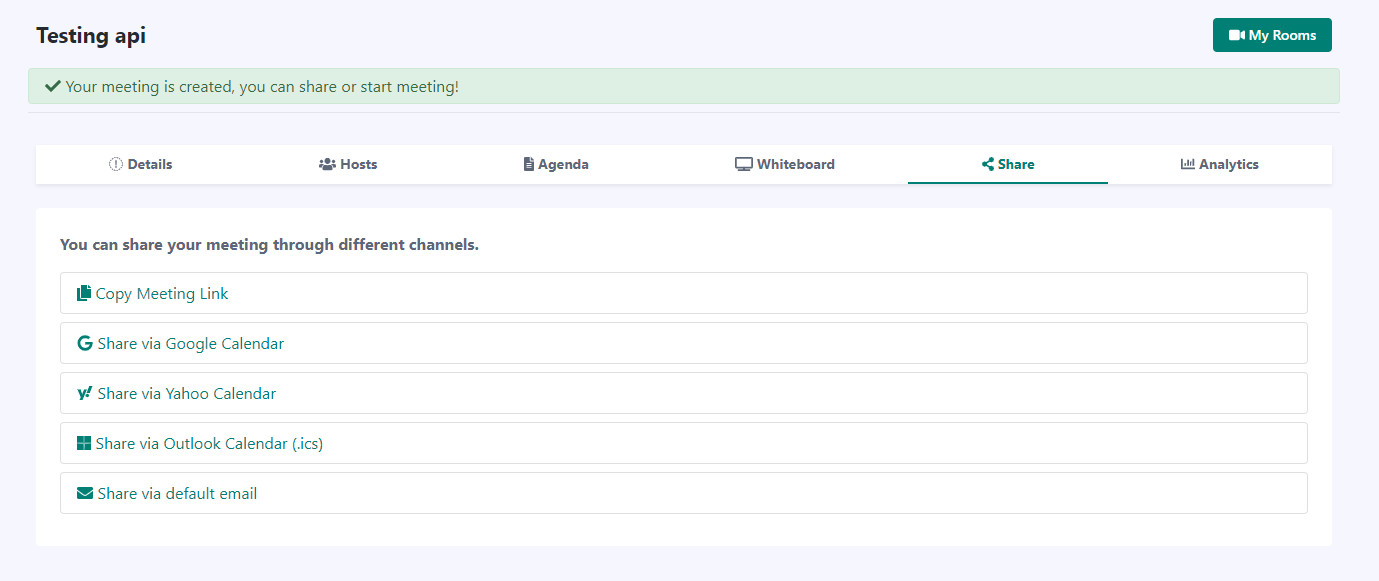
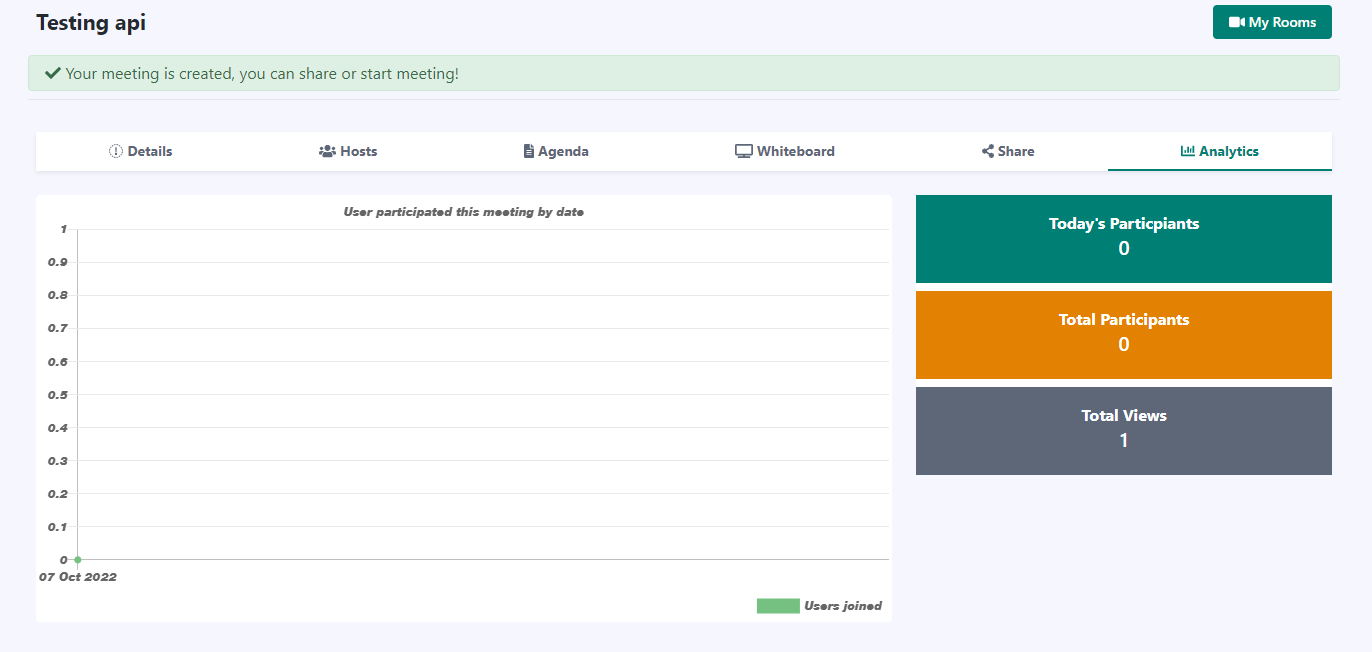
Your journey after saving your meeting goes to where you can see the details of your meeting, add a co-host, agenda and whiteboard to your meeting, you can share your meeting and see the analytics of the meeting.
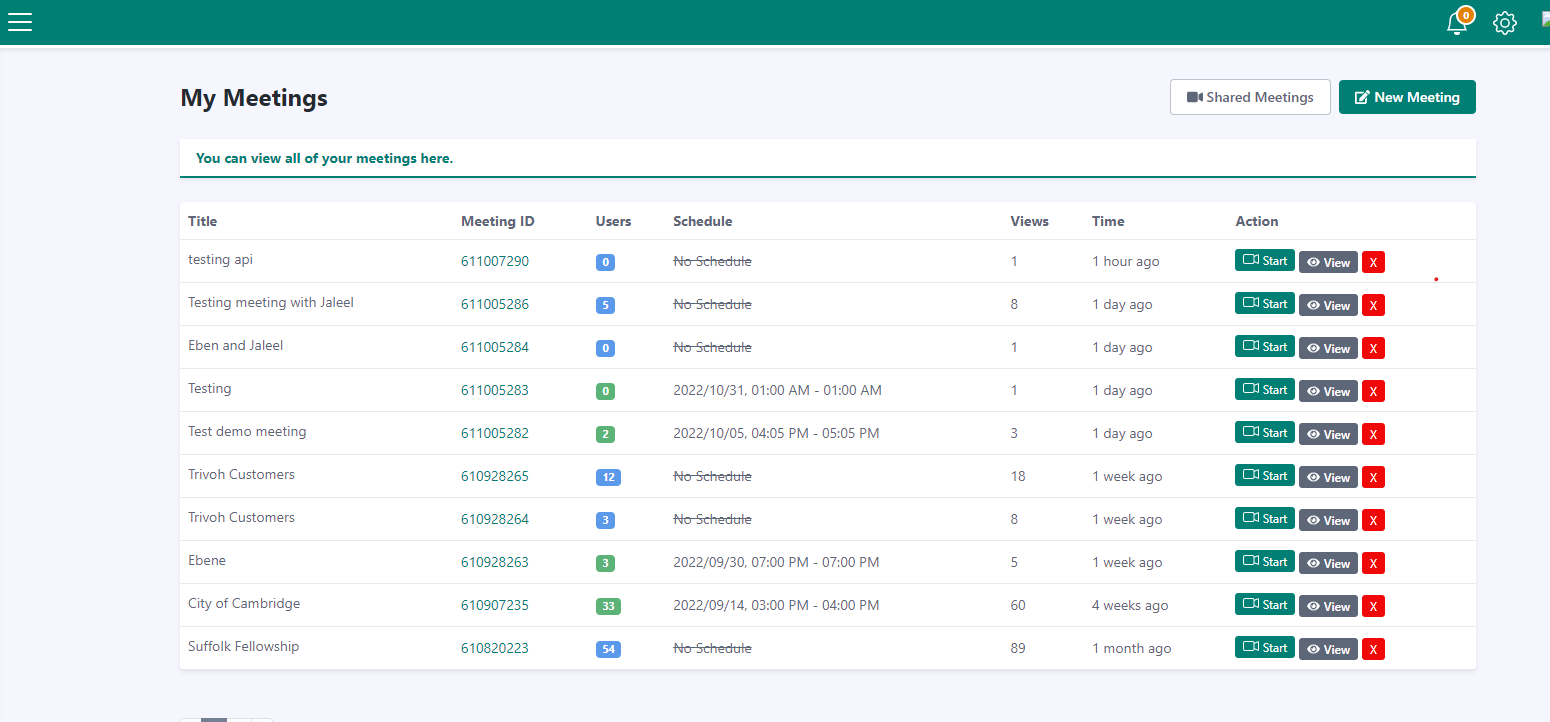
Rooms (also known as My meetings)
New Meeting
Created Meeting

Adding a New Host ( co-host )

Agenda

Whiteboard
Share Meeting
Analytics of Meeting
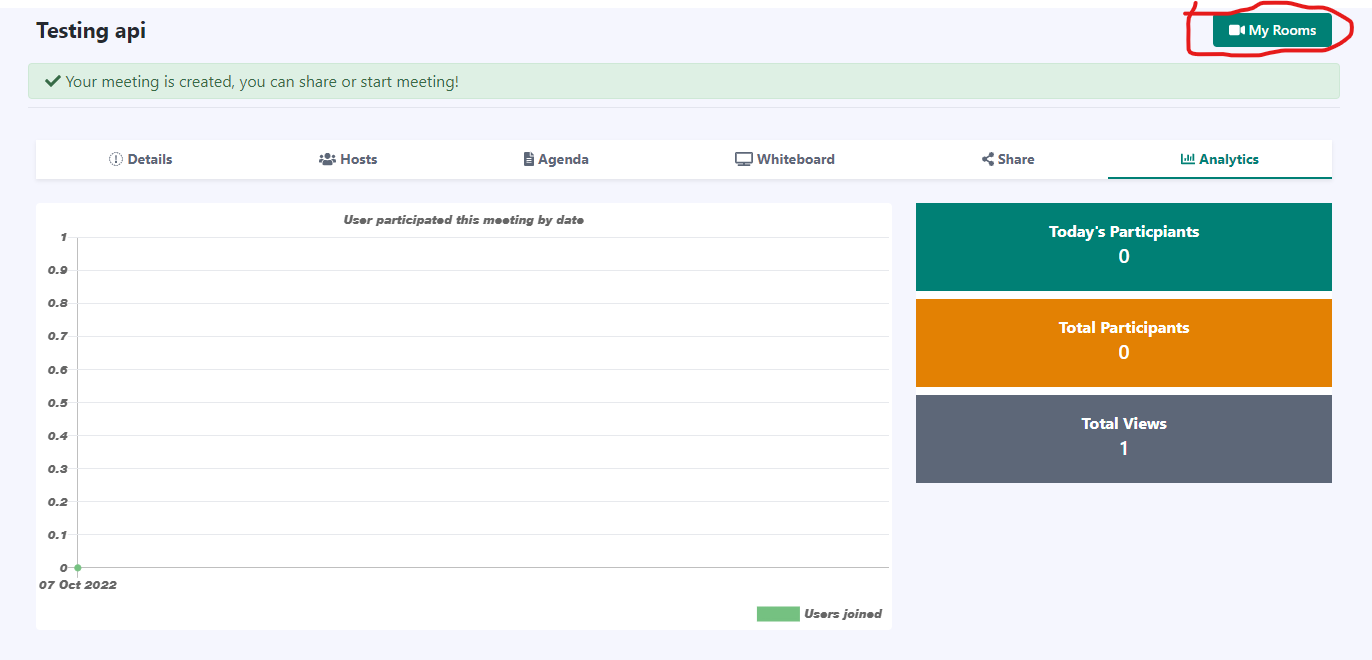
My Rooms: takes you back to all the meeting rooms you have created.
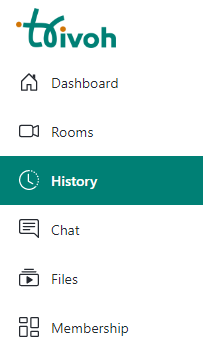
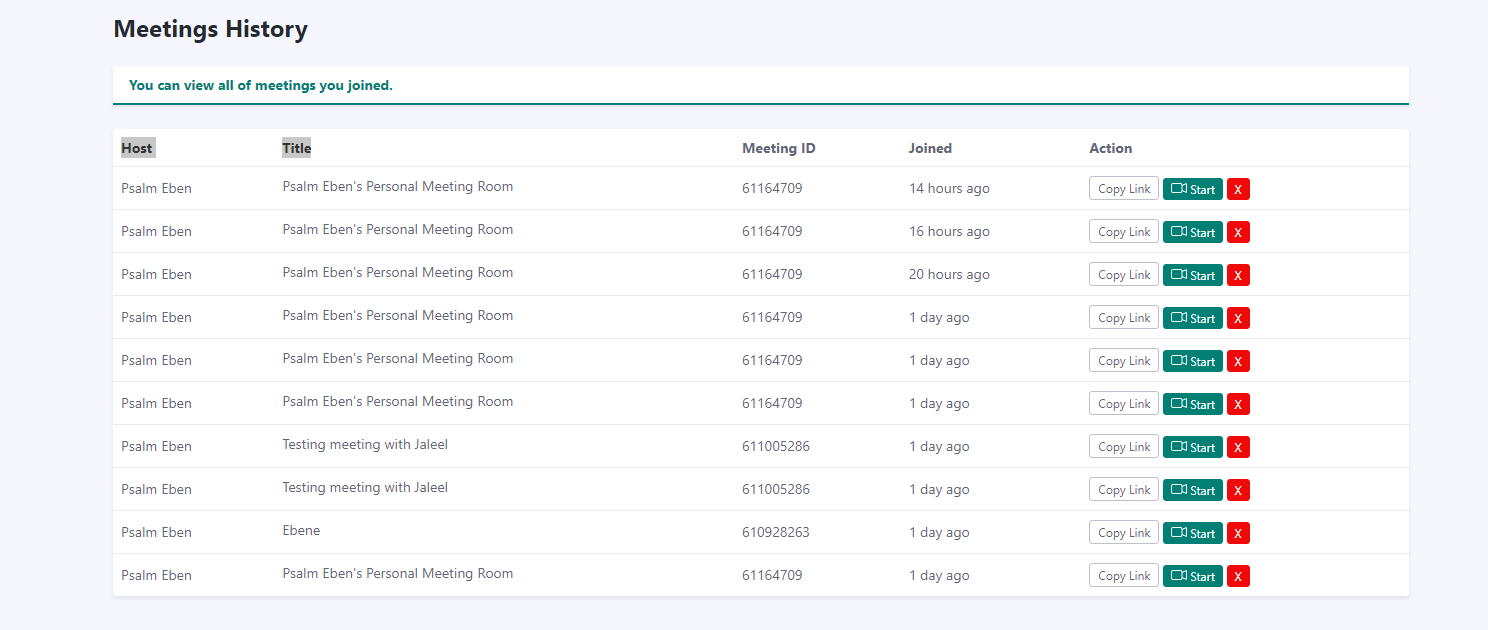
All meetings you have joined are stored in your history.
- Click on Start on the history meeting page to join the meeting you have joined before.
- Click on Copy to copy your meetings
When you click on the chat you will see an empty page on the web, but on the mobile app you will need to allow Trivoh to access your contact to sync up those in your contact that are on Trivoh. Once you allow your contact, you will be able to chat with your contacts.
Ways to chat with friends and colleague
- Chat through your phone contact
- Chat by searching for the email of the participants
Trivoh makes file sharing easier without the traditional screen sharing way to get files shared, you can get your file uploaded to Trivoh and share this with your participants.
Ways to share files on Trivoh.
- File sharing through the dashboard
- Sharing file from the in-meeting room
File sharing through the Dashboard
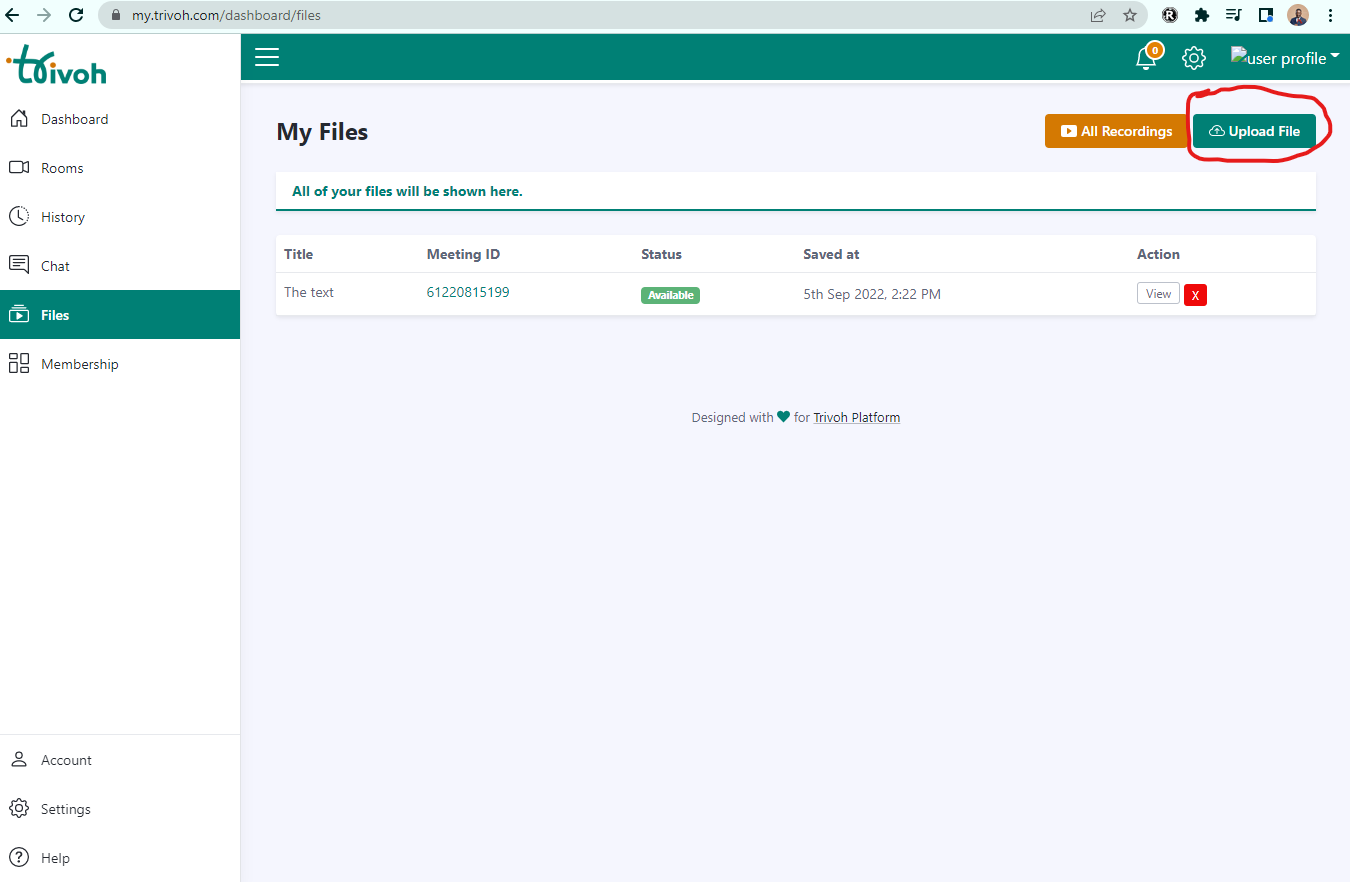
- Open your dashboard, go right to click on Files
- Click on Upload File on the top right corner to upload you file
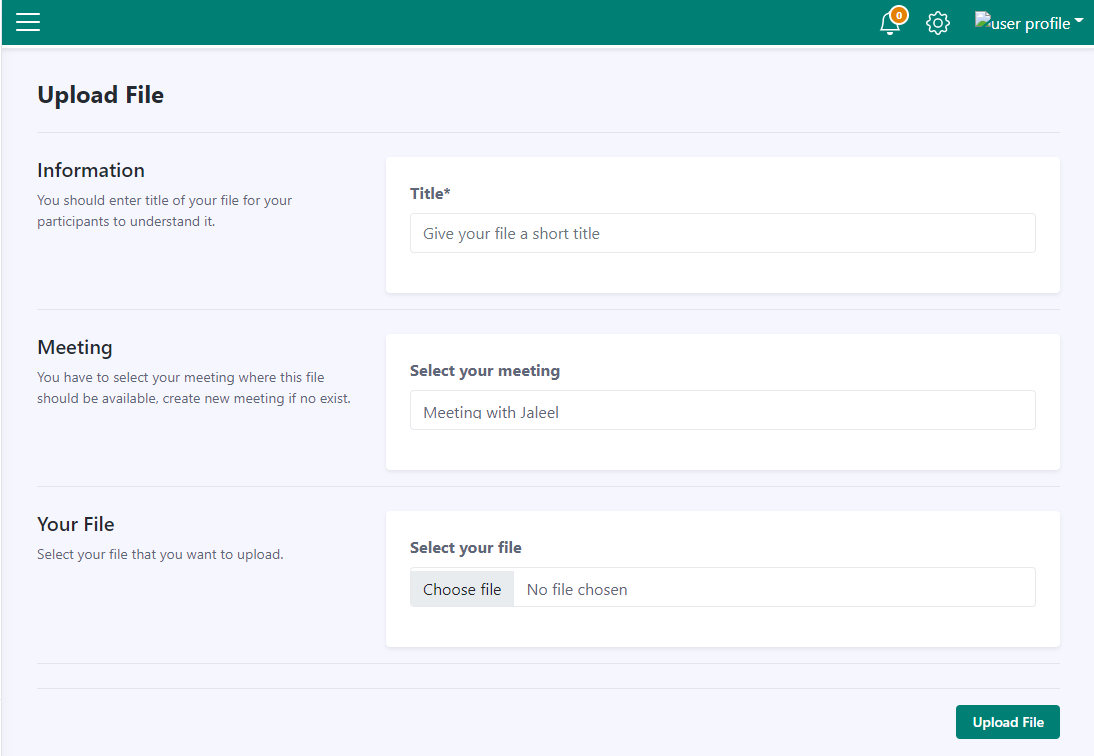
- Upload files by inputting your file title, add file to a specific meeting you want it to be displayed.
- Select your files (PDF, DOC, PPT) from your device (computer, Drive or mobile)
- Then you click on the Upload File button.
- Your uploaded file will be seen on the file screen and also in the meeting room on the collaboration tools.
Setting up a Meeting
Setting up a Meeting